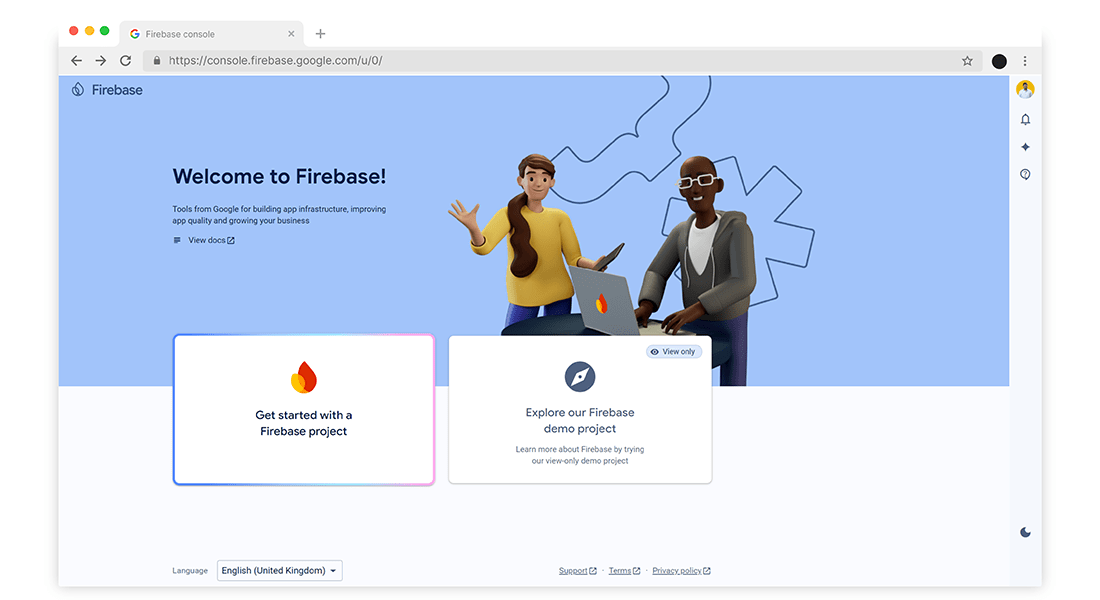
I. Go to firebase
console:
• Visit the
Firebase Console.
II. Sign In:
• Sign in with
your Google account.
III. Create a New Project:
• Click on
"Add project".
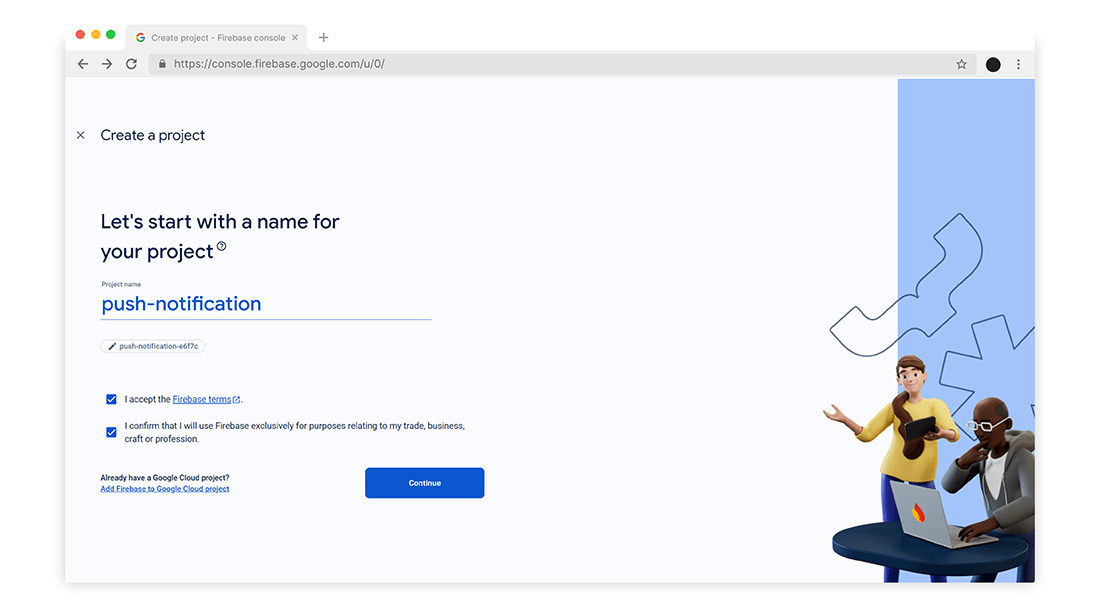
• Enter a
project
name and click "Continue".
• Enable
Google
Analytics if needed, and click "Create project".
• Once the
project is created, click "Continue".
IV. Set Up Firebase Cloud
Messaging (FCM):
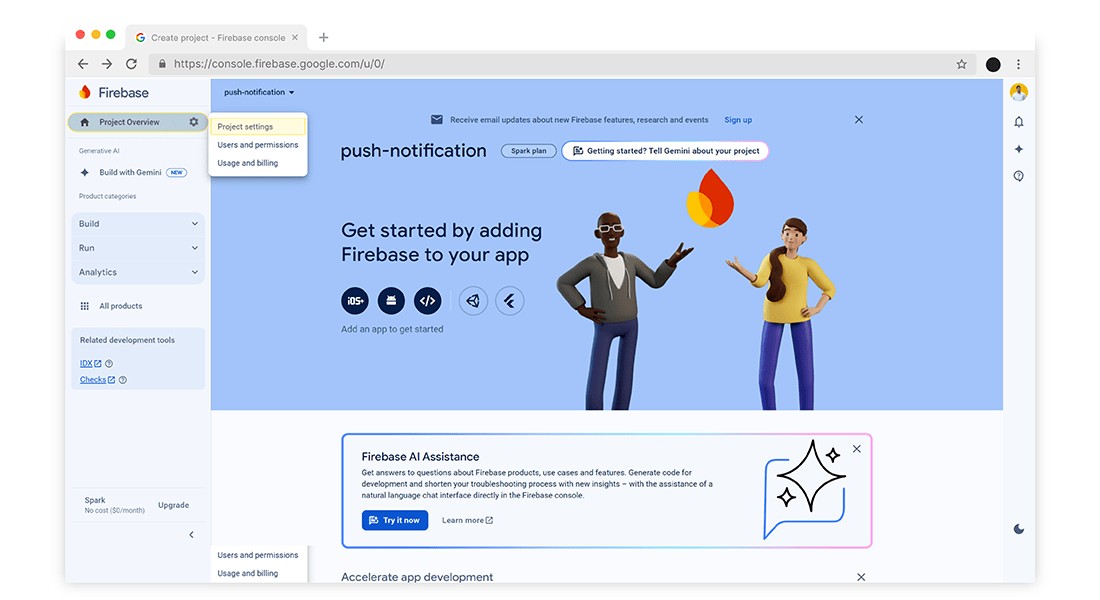
• Navigate to
Project Settings:
• Click on the
gear icon (⚙️) next to "Project Overview" and select "Project settings".
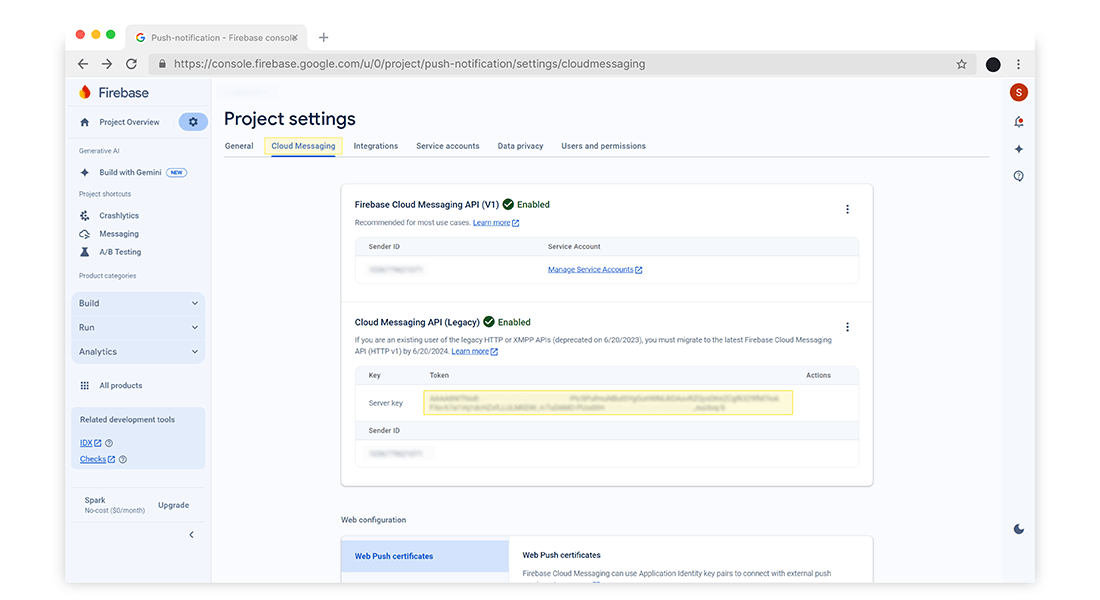
V. Go to Cloud Messaging
Tab:
• In the Project
Settings page, click on the "Cloud Messaging" tab.
V. Find the Server Key:
• Under the
"Cloud Messaging" tab, you will see the "Project credentials" section.
• Look for "Server key" under the "Key"
section.
Step-2: Install Laravel and Set Up a
New Project:
If you haven’t yet, set up
a new Laravel project:
composer create-project --prefer-dist laravel/laravel your-project-name
Navigate to the project
directory:
cd your-project-name
Step-3: Configure Firebase in
Laravel
Set up FCM credentials in
your .env file. If you don’t have a Firebase account, sign up at Firebase and create a new
app.Integrate the Server Key into your backend application (e.g., Laravel) to authenticate
and send notifications via FCM.
Update your .env file with
your FCM credentials:
FCM_SERVER_KEY = your _fcm_server_key
Create the file custom.php
in
config folder
and
Modify config/custom.php to include:
'fcm_server_key' => env('FCM_SERVER_KEY '),
Step-4: Create a Custom FCM
Library
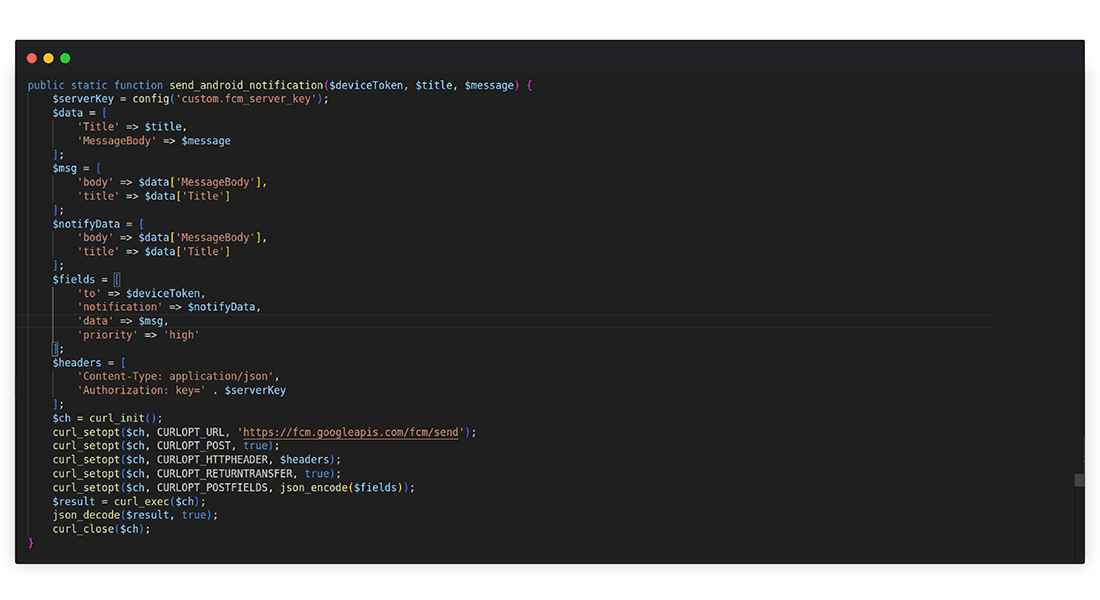
To streamline the process
of sending FCM notifications, you can use a custom library. Here's a class that you can use
to send notifications via FCM:
Create the Library File:
Create a file named
FcmPush.php in the app/Libraries directory.
Step-5: Setting Up the
Controller
Creating the Controller
Run the following Artisan
command to create a new controller:
php artisan make:controller BroadcastController
Controller Code
Here is the complete code
for the BroadcastController, followed by an explanation of its components:
Step-6: Routing
Add a route to handle
requests for this controller method. Open routes/web.php and add:
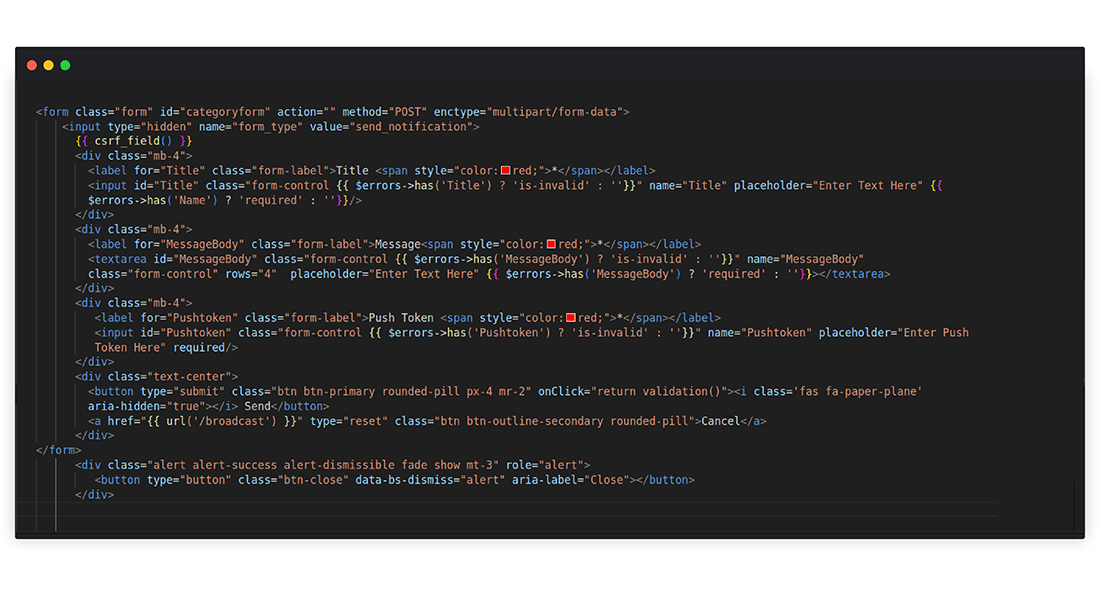
Step-7: Creating the Blade
Template
Create Blade template code
is
Create the Blade
Template File:
Create a file named
add.blade.php in the resources/views/broadcast directory. If the directory does not exist,
create it first:
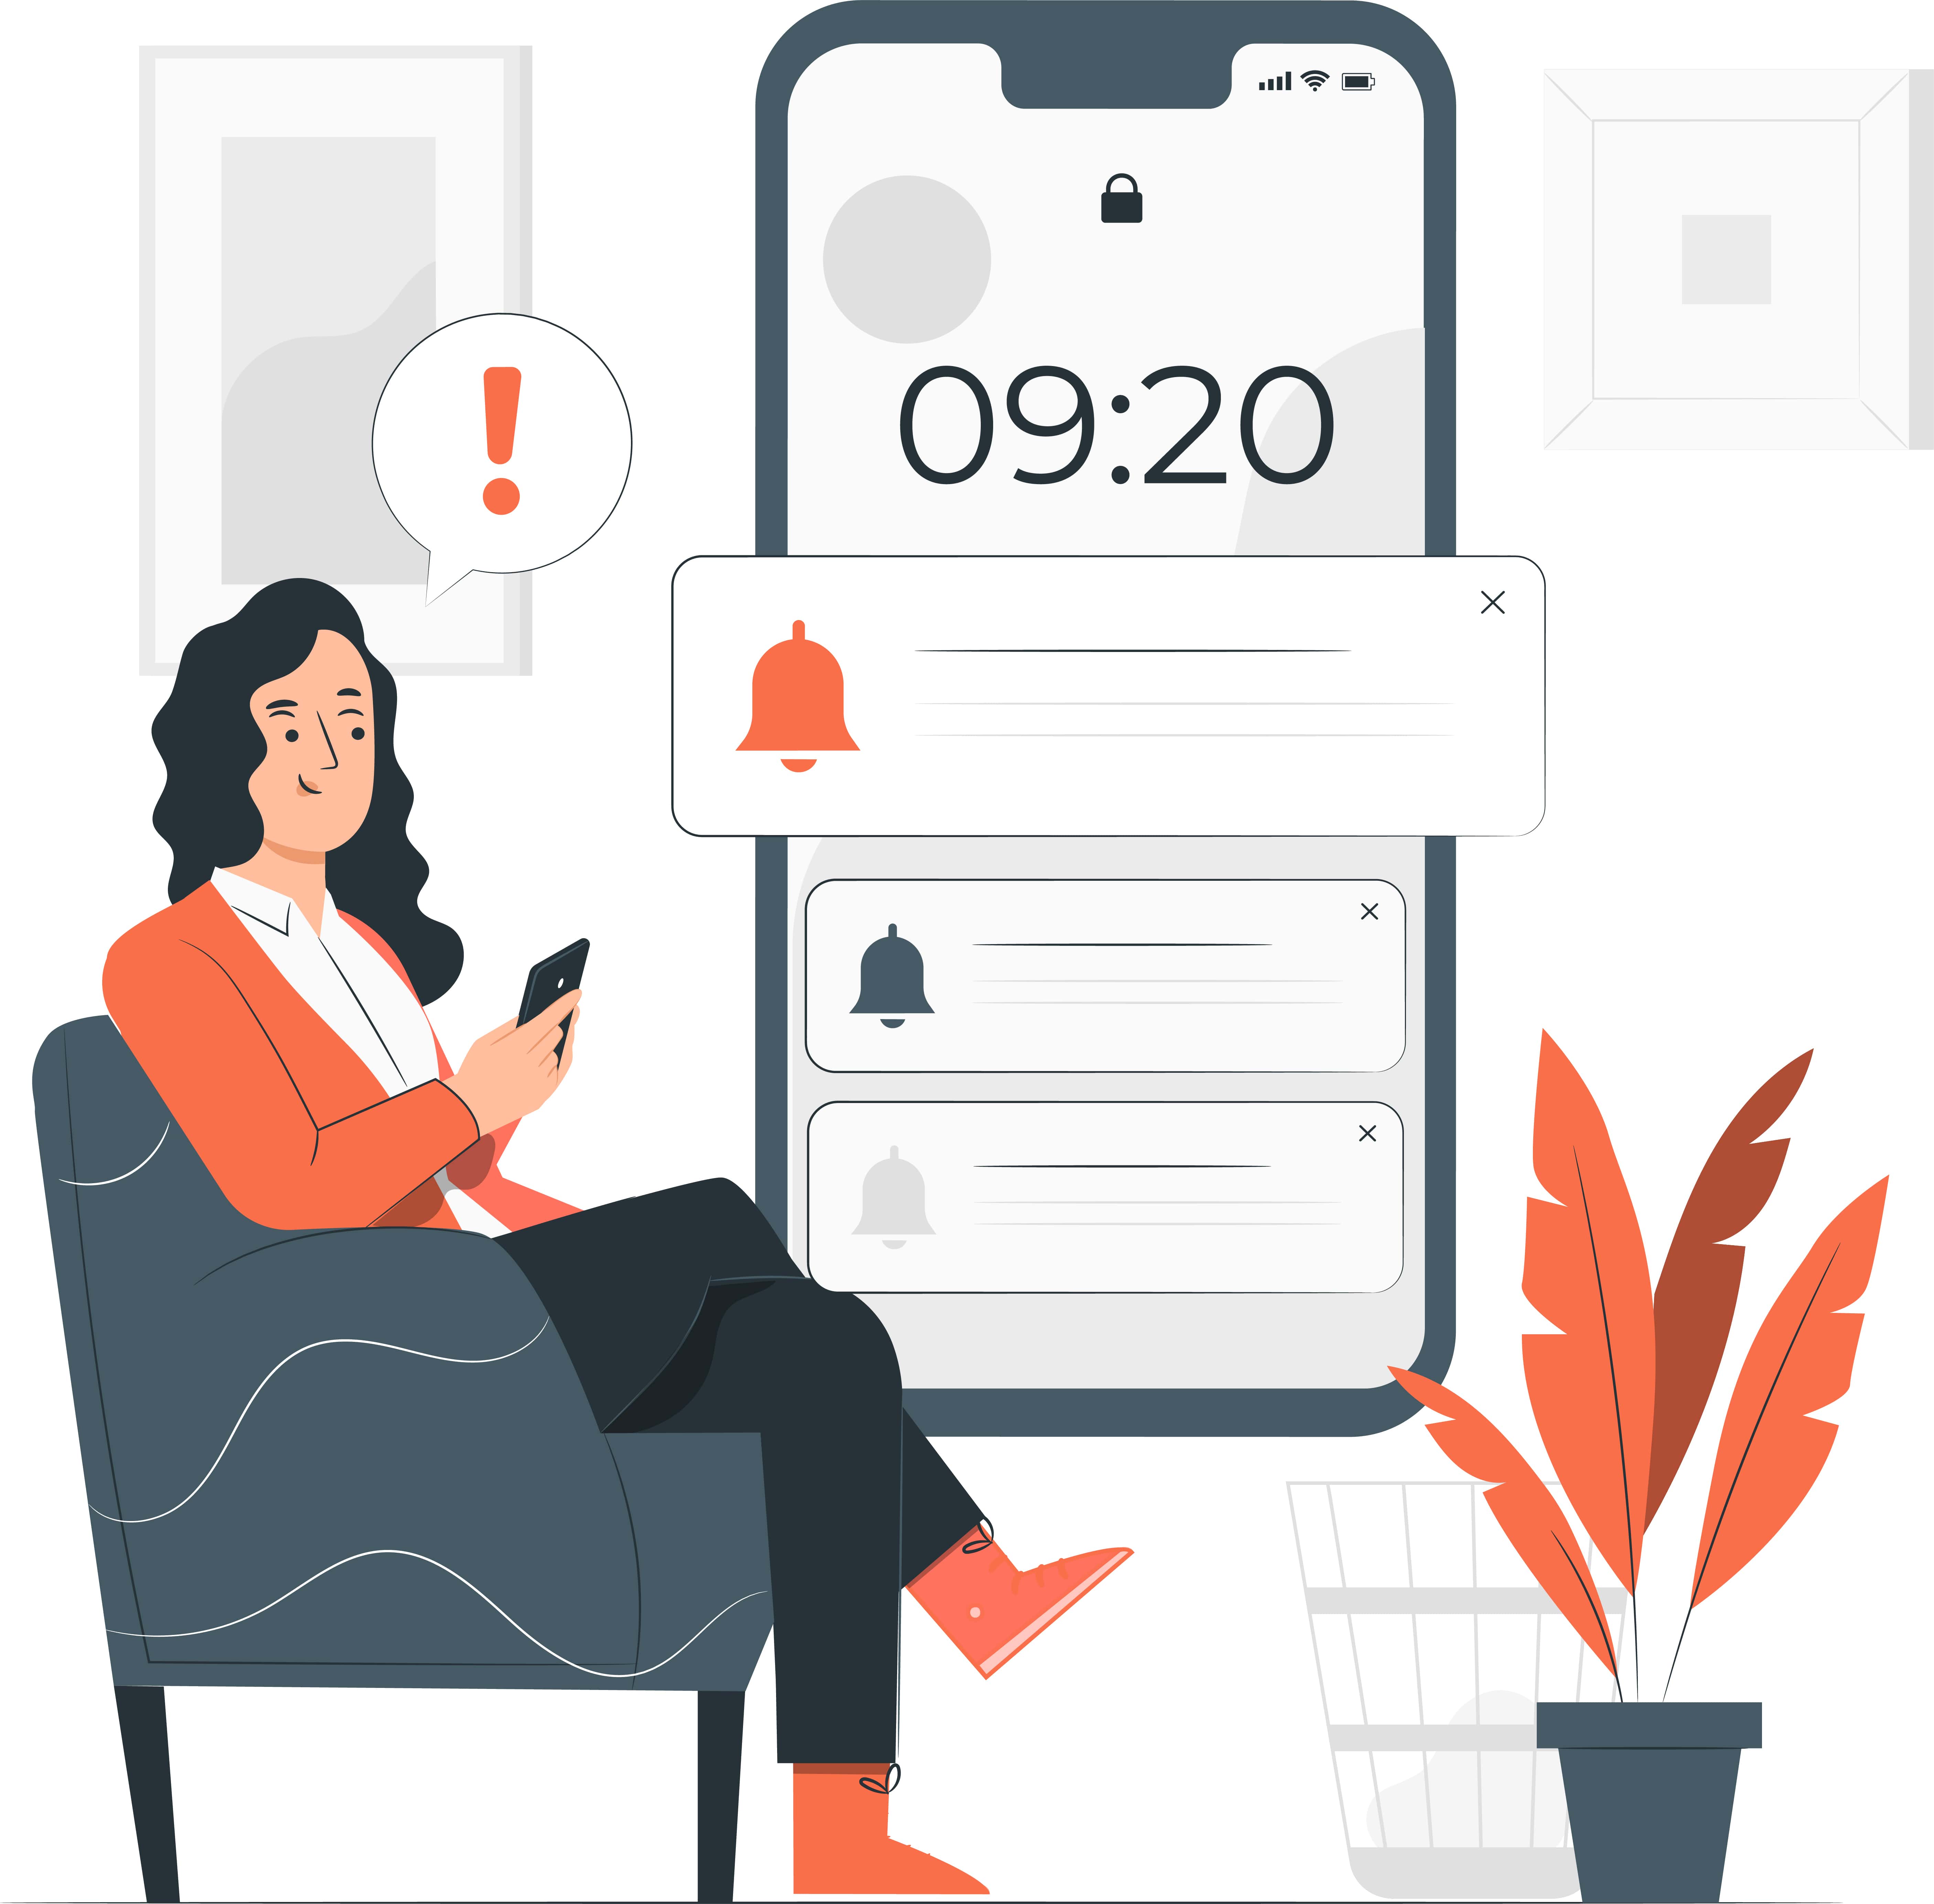
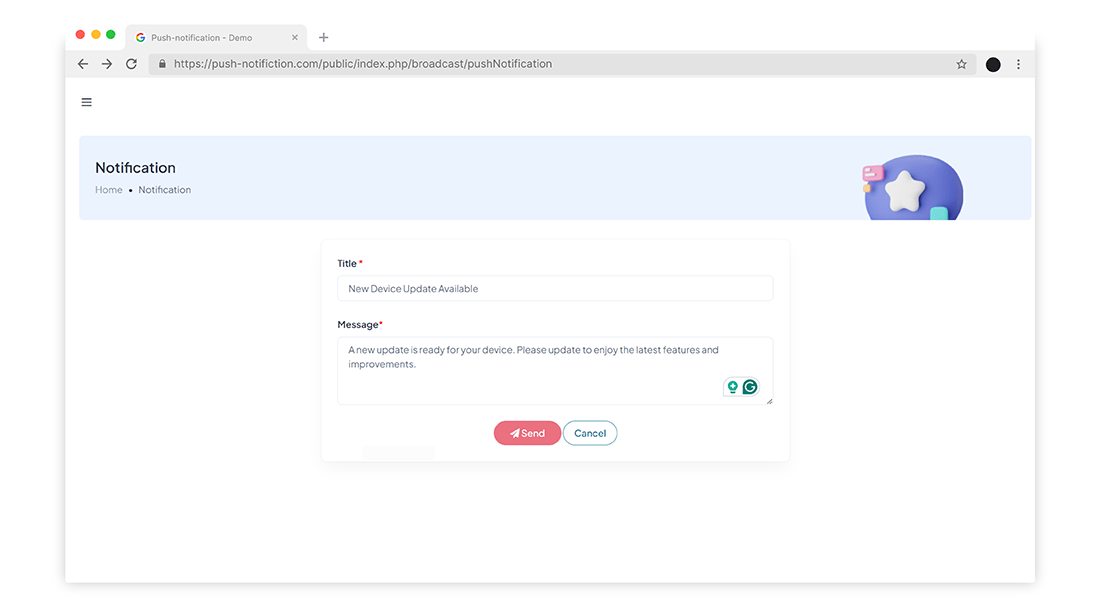
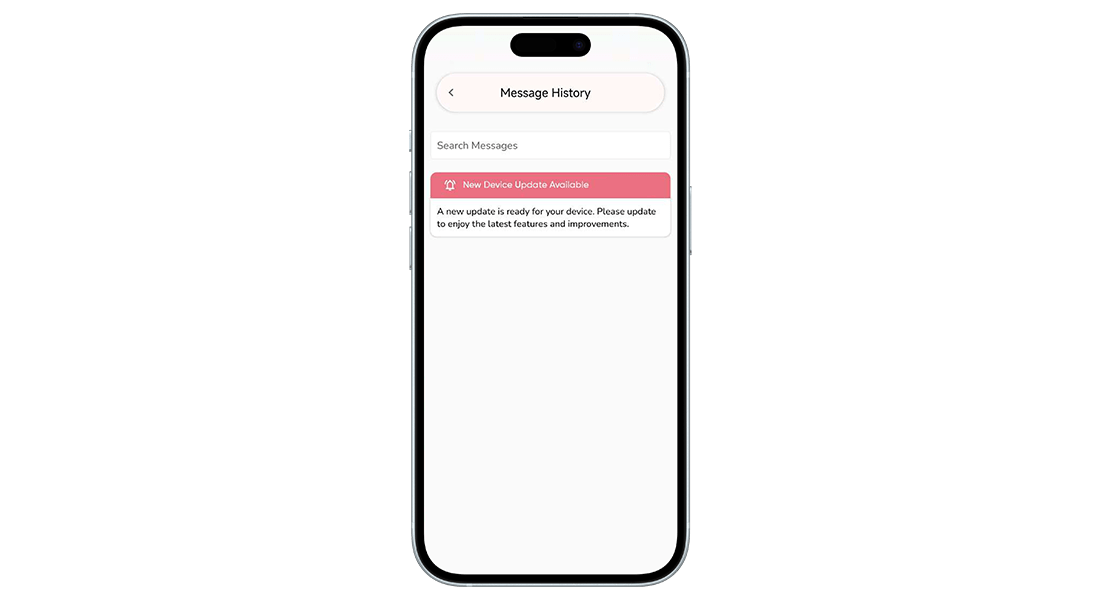
To help you visualize how your
broadcast notifications will appear on users' devices, here’s a sample image of a mobile
notification:
Conclusion
In this blog post, we
explored how to integrate Firebase Cloud Messaging (FCM) with a Laravel backend for the
LockBand project to manage and send push notifications effectively. Here’s a brief recap of
what we accomplished:
Key Achievements
1. Integration of FCM with
Laravel:
• We set up
FCM to work with the Laravel backend of LockBand, enabling real-time push notifications
to both Android and iOS devices.
2. Sending
Notifications:
• Demonstrated
how to send various types of notifications, including customer updates and device
location alerts, ensuring timely and relevant communication.
3. Backend Management:
• Implemented
a system for handling notifications securely and efficiently through Laravel, managing
the entire notification process from creation to delivery.
Verification and Final Steps
To ensure everything functions
correctly, follow these final steps:
• Test Notifications:
• Use the
Firebase Console to send test notifications and verify that they are being received as
expected on both Android and iOS devices.
• Check Configurations:
• Confirm that
both your backend (Laravel) and frontend (mobile apps) configurations are accurate and
properly set up for the LockBand project to handle notifications.
By following these steps, you
can ensure a successful integration of real-time notifications in your Laravel application
using Firebase Cloud Messaging. Remember to handle tokens securely and manage permissions
carefully to maintain smooth functionality.We hope it empowers you to implement effective
push notification systems in your projects.


